

In this short blog post I show an example repair of a heavily corrupted and distorted JPEG photo. End result is far from a beautiful picture, but sometimes something is better than nothing. Specially if it is one of the few photos of a loved one that is no longer with us.
This is what my JPEG Repair Service can accomplish, but since I use JPG-Repair Toolkit and free tools, it a a repair you can also do yourself.
Tools I used are:
- JPG-Repair
- PhotoHeal (Included with JPG-Repair Toolkit
- PhotoDemon
- PAINT.NET
Step 1. Remove corrupted data.
For this I use my JPG-Repair Toolkit. As always the challenge is determining the byte address on which the corruption starts. From there on it is a matter of removing bytes until the colors above the corruption match the colors below that point.
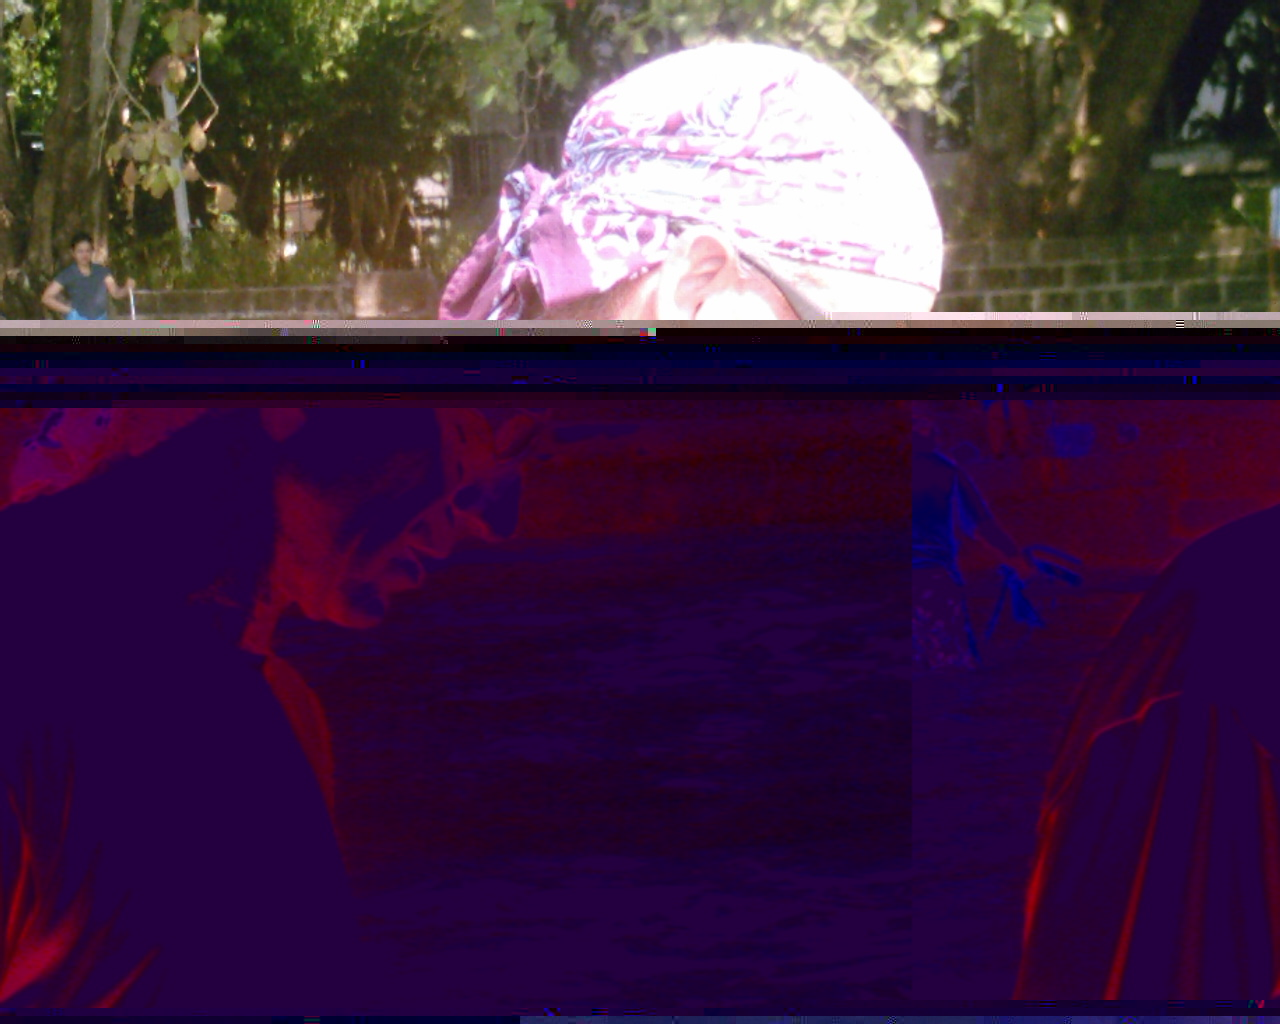
Corrupted photo as I receive it.
Step 2. Realign image data
Again using JG-Repair Toolkit I add ‘stuff bytes’ to make up for the bytes removed. In total I removed a good three rows of MCUs. An MCU stands for minimal coding unit and is 8 or 16 rows of pixels. Below is the image data re-aligned. I also decide to simply crop the lower corrupted part from the image.
Removing bytes tends to cause the image data beyond the point from which bytes are removed to shift to the left. Stuffing or adding bytes tends to shift data to the right.
Using JPG-Repair you can remove and add bytes to and from the RAW data which is different from editing the image as it is normally done using a photo editor. Using a photo editor you edit decoded data that is encoded again once you save the file. The latter is a ‘lossy’ process. The sort of editing of RAW data, or patching done by JPG-Repair is lossless in the sense that no data is decoded and re-encoded.
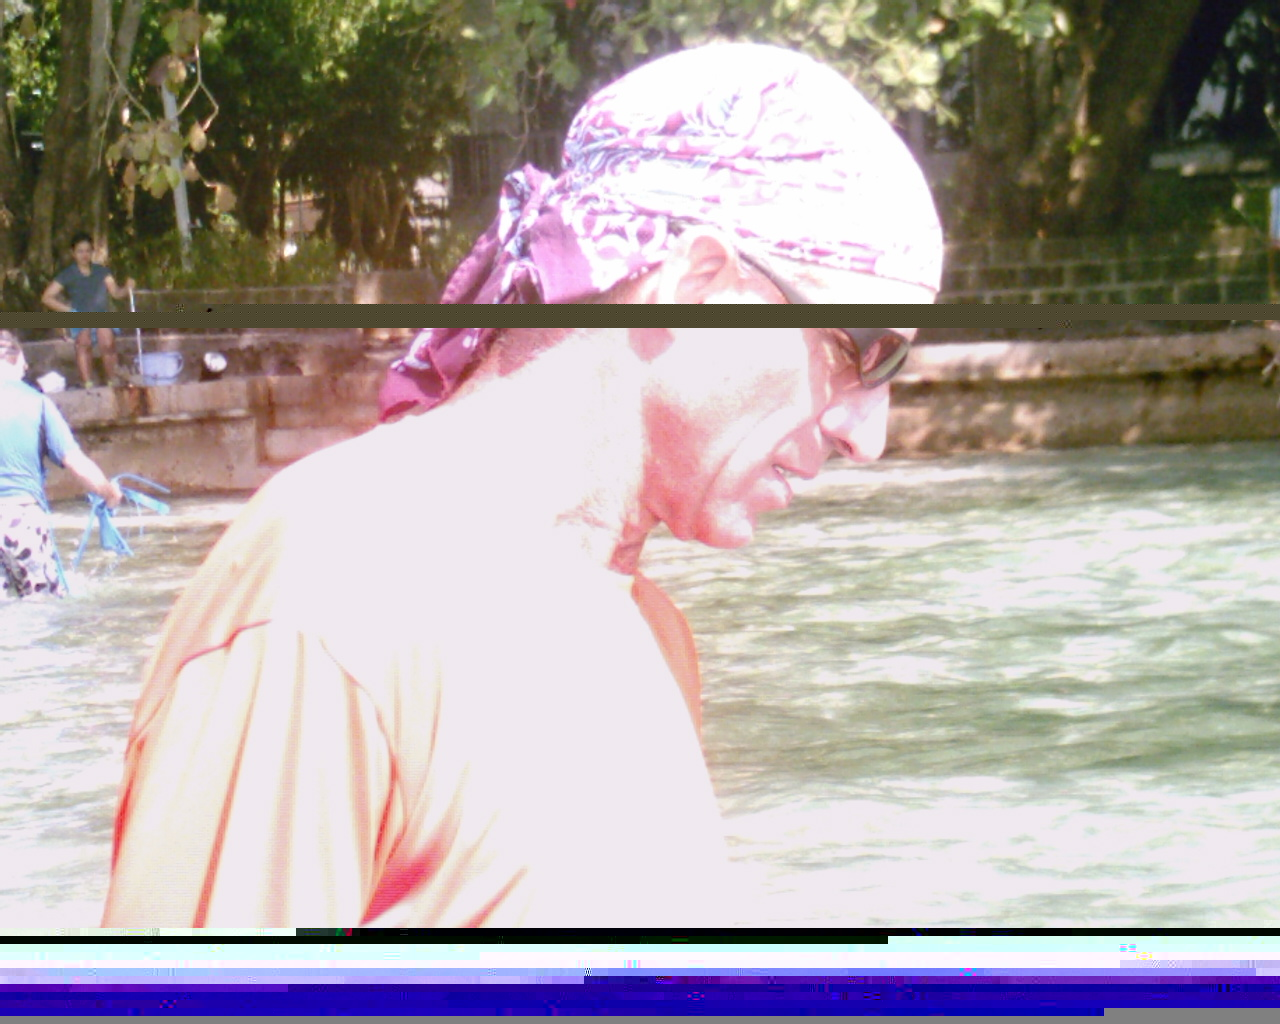
Photo after removing corrupted data and stuffing bytes using JPG-repair to re-align image data
Step 3. Inpainting an touch-up
There are a few tools I use for this (all free BTW): Photo Heal for inpainting (you will find it in the JPG-Repair ZIP file), PhotoDemon and Paint.NET.
- PhotoHeal can fill in the grey area using surrounding areas (process called inpainting). It is a matter of selecting the areas needing repair while PhotoHeal does the rest.
- I use PAINT.NET to make further corrections to areas in-painted by PhotoHeal using the clone-stamp tool. Using a clone-stamp tool you can select a source area to be used to fill in damaged areas.
- PhotoDemon’s automatic color correction is excellent! I use it (if needed) to make color above and below original corruption match.

Photo after processing with Photo Heal (to remove grey area using inpainting) PhotoDemon and Paint.NET