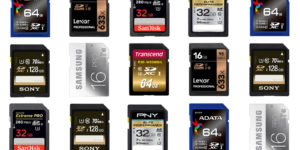
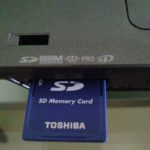
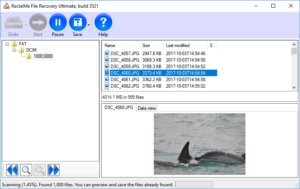
Recovering data from a SD card or any other type of memory card is essentially the same as recovering data from a regular disk. As memory cards are typically ejected and inserted on a regular basis they appear to be a tad more prone to file system corruption. If this happens the memory card file system typically appears as ‘RAW’.
Setting up for data recovery from a memory card
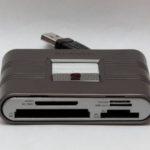
First of all I recommend you use a card reader for the recovery, even if until now you attached the smart phone or digital camera to a PC using a USB cable. First reason is that your device may not allow for direct disk access. Also, recovery software needs direct access to the disk, or in this case memory card.
Read and write speed when using a card reader is often higher than when connecting a device to the PC using a USB cable. Also, in general they behave better and more reliable when there are bad sectors on the memory card.
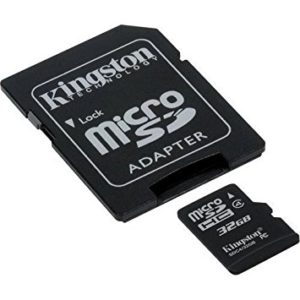
Card readers are inexpensive devices. Micro SD cards often come with an adapter so they fit standard size card readers.
Example Memory card recovery using ReclaiMe
Scenario: Recover data from a SD memory card.
Using ReclaiMe itself is simple and straight forward. Once you have the system set up, you’re just a few clicks away from recovering your data.
We need:
- A running Windows system. I advise to use a generic card reader to read the memory card.
- ReclaiMe.
- The ‘victim’ memory card where you will be recovering data from.
- A destination disk where you will copy files to. As these cards are relatively small, you probably can copy to your hard drive.
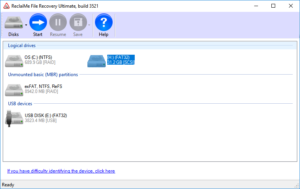
Now, run ReclaiMe File Recovery Software. All you need to do is select the disk and click Start.
In my case the drive letter is detected (H:). The card is inserted into the laptop’s internal card reader. If no drive letter is assigned, the physical device is listed, select that.
ReclaiMe will normally almost immediately start populating the folder / file lists. You can already preview text and image files. Also, you can search for and save files (using the Save button).
Wait for the number of files in the left bottom corner if the windows to settle, you can pause the scan (usually after 2% – 3% scanning). See if the files you need to recover are listed and recover (Save) them. You can resume the scan if needed.
Additional background info and hints
Most SD and other memory cards used in camera’s and smart phones contain a FAT based file system (FAT32 or exFAT). Classic file system based file recovery and undelete software will scan for directory file entry structures to detect files. Once such an entry for a file is detected properties like the file name and the start location of a file can be determined. With that info the file can be recovered.
RAW scanners or file carvers, which many specialized photo recovery tools are, ignore the file system structures and scan for file signatures. For example, a JPEG file starts and ends with a specific sequence of bytes. By copying everything from the start until the end into a new file, the file is recovered. Advantage of this method is that even files that can no longer be detected by scanning the file system, can be recovered.
ReclaiMe File Recovery uses both techniques at the same time! Files detected through the file system appear in the upper directory tree (typically FAT – DCIM – FOLDERNAME). Files that aren’t detected in file system structures but by their signatures appear in a folder called ‘RAW’. However files detected using BOTH methods are removed from the ‘RAW’ folder and added to the directory tree to avoid duplicate files being recovered.
This short video also explains the entire procedure:
