

Original question: Help, I deleted my entire DCIM folder from mobile phone (Samsung) Micro SD Card. Can I recover my photos? A typical answer to this question in many forums and communities is, pull the SD Card from the phone and run PhotoRec. This is indeed an option, but I’m not sure if it’s the best one and I’ll explain why.
Recover a deleted DCIM folder on Android mobile phone
Let’s first look at PhotoRec.
PhotoRec main disadvantages
- PhotoRec will not detect device encryption. SD Cards may be encrypted in Android devices such as smart phones. As PhotoRec is a RAW scanner, scanning for magic bytes of for example JPEG photos, it will not find any due to possible encryption. The user may come under the assumption that he can not recover the data.
- Scans original card, may worsen potential physical issues.
- Produces many false positives (corrupt photos).
- Some may find it hard to use as it is a command line tool. Note that it comes with a GUI front end too, but not all options are available in that.
JpegDigger offers some answers to some of those issues.
How JpegDigger can help recover photos from an Android phone micro SD
- First of all I suggest creating an image file. It provides you with a safety net should anything happen to the SD Card before you have the chance to recover your data. Secondly, JpegDigger’s entropy map will reveal if we’re dealing with encryption. If so, complete the image file, then move the card back to the phone and decrypt it. Remove from phone, insert in card reader and image it again. Note that I am assuming ‘full disk encryption’, this will be true in most cases.
- JpegDigger can now scan the decrypted disk image and recover photos from it. Unlike PhotoRec, JpegDigger’s false positive rate is very low! Any photo it shows a preview for can be recovered.
How JpegDigger can help detect encryption
JpegDigger calculates the entropy for the data in each block you scan or image. It expresses this is a value from 0 – 8 bits/byte, zero being lowest entropy, 8 highest. You could regard entropy as a measure of chaos or predictability. A property of compressed data is that it has high entropy. JPEG photos are compressed, most image formats are. For blocks containing compressed data, the entropy bar in JpegDigger will become bright green. Highest entropy we find in encrypted data. Block of encrypted data will color the entropy bar cyan.
JpegDigger imaging an SD Card – The horizontal entropy bar is bright green for the part of the drive already imaged.
If the entropy bar colors cyan then you’re imaging a card with encryption. I suggest you continue and create the disk image. Then insert the card back into the phone and decrypt it. This may take a while, once done connect the card to a card reader again. For the sake of safety, image it again.
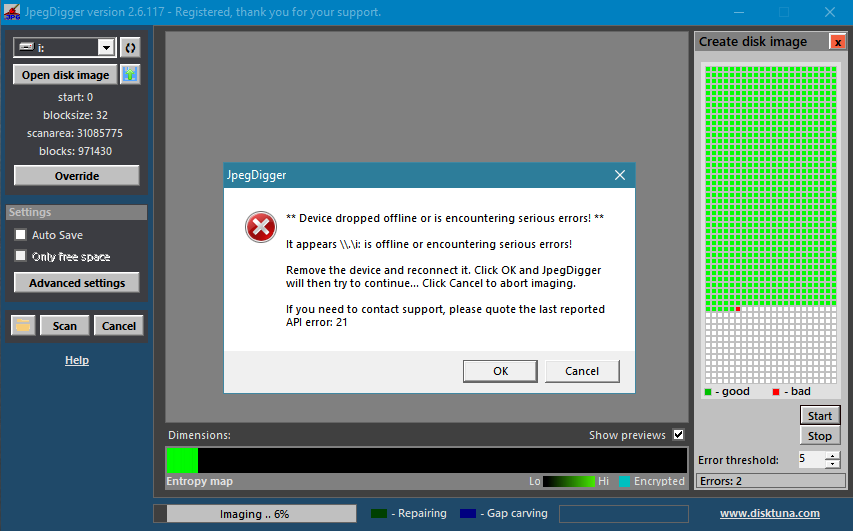
Creating a disk image using JpegDigger
- Select the card’s drive letter.
- Click override > Manual > Set start sector to 0, block size to 32 or 64. Click OK.
- Now click disk image button
 .
. - The create disk image module will become visible, click the button labeled ‘Start’.
- Select file name and destination folder.
Recovering your photos from deleted DCIM folder
The process for processing an actual drive or disk image is largely similar.
- Select the source, either the drive or click the button ‘Open disk image’. In case of the latter you will be asked to select a disk image.
- In case you select a disk image the Override window will pop up. Click ‘Help me determine values’, once that finishes click OK at the bottom of the window.
- Now click ‘Scan’.
- Review, select and save photos.
Dealing with Micro SD Card encryption in Android phones
Good news is, that as far as I can find, encryption on SD cards is disabled if the card is used as external or portable storage. If enabled then it’s good to know Android encryption comes in two flavors:
- File based: each file is separately encrypted.
- Full disk based. As far as I can determine this is far more common.
1. However this method will not work if the files are separately encrypted, the phone will not decrypt deleted files. In this case you can try to recover the (encrypted) deleted files. Get an additional SD card and install it in the phone. Configure as portable storage, and enable encryption. Now take card out of phone, into your reader connected to PC and copy recovered (encrypted) file to it. Move card back to phone and check if recovered file can be opened.
2. If during the imaging you determine it is likely the data on the SD Card was encrypted, it’s best to finish the image > Move the card back into the phone and decrypt it. All blocks, even those containing the deleted data will be decrypted. Image again and try to recover deleted data from the image file.
Note that the above does not imply that you can recover photos from a factory reset phone! The reset deleted the key needed to decrypt data!
Disclaimers
First of all I’d like to mention that I am not an Android expert. I have researched this as good as I can and tested some scenarios with Android phones I have at my disposal.
Information may be Android version dependent and may not apply to older or newer Android versions (I used Android 9 devices). In general a rule of thumb is, the older the Android version, the easier it is to recover data.
It appears on newer devices encryption is the default if the device manufacturer follows Google guidelines. So a guideline may state it’s mandatory that for version x of Android that encryption is on. However, if you initially purchased your device with an older version and simply updated to the latest Android, this may again not be true (so encryption is off).
Another factor that may already be applicable and that we may see more of in the future is that deleting data may actually mean deleting data due to the SD Card equivalent of TRIM. TRIM is a mechanism found in SSD drives that helps drives maintain high performance by pro-actively erasing data. The SD Card moniker for this is the ERASE command.