

JPEG Repair after it was damaged by a bad sector.
The following example represents JPEG Repair after bad sector damage (512 bytes) right in the middle of compressed image data. Using a binary editor this data is zeroed. JPEG repair is performed on this image file.
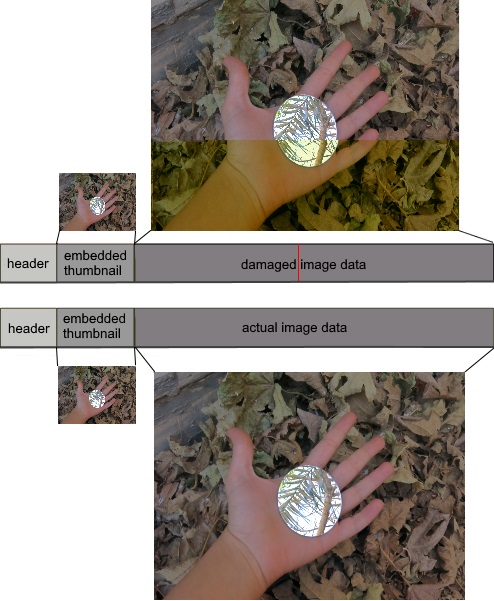
File affected by one or more bad sectors typically show intact previews, but a corrupted full image. The JPG file embeds a smaller quality preview JPEG that can be used to generate thumbnails which may show an undamaged file.
The following describes our in-house workflow and set of tools (JPEG Repair Toolkit) to repair the corrupt JPG image file. The workflow and toolkit are still under development. However we do offer a JPG Repair Service.
But first let’s start off with a repair of a third party automatic JPEG fixer. Being: Stellar Phoenix JPEG Repair
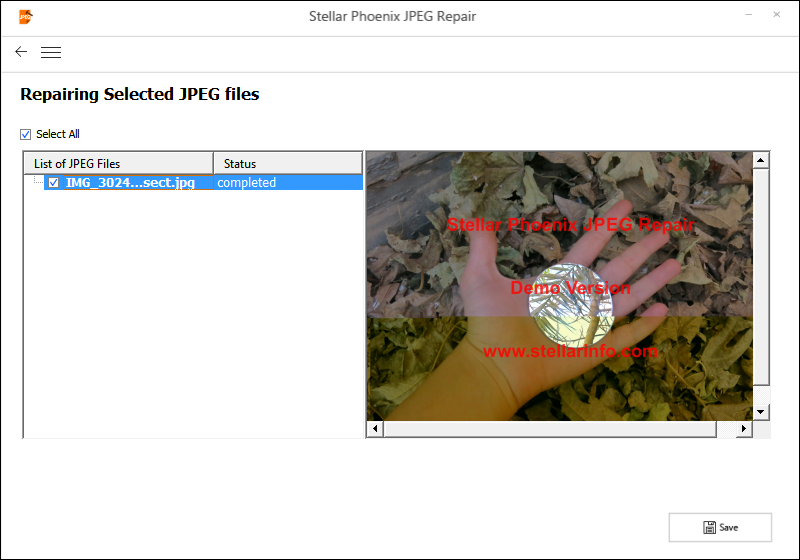
No changes in the repaired JPG using the Stellar software – Click for larger
Important! Because Stellar JPEG Repair isn’t able to repair the corruption, I do not want to claim this tool is no good. The only conclusion we can make is that the tool isn’t able to fix this particular image. There is absolutely no harm in trying utilities that perform automatic repairs on corrupt JPG files. If you want me to have a go a your corrupt JPGs, email me (joep@disktuna.com).
Manual JPEG Repair
Visual inspection and checking for structural damage
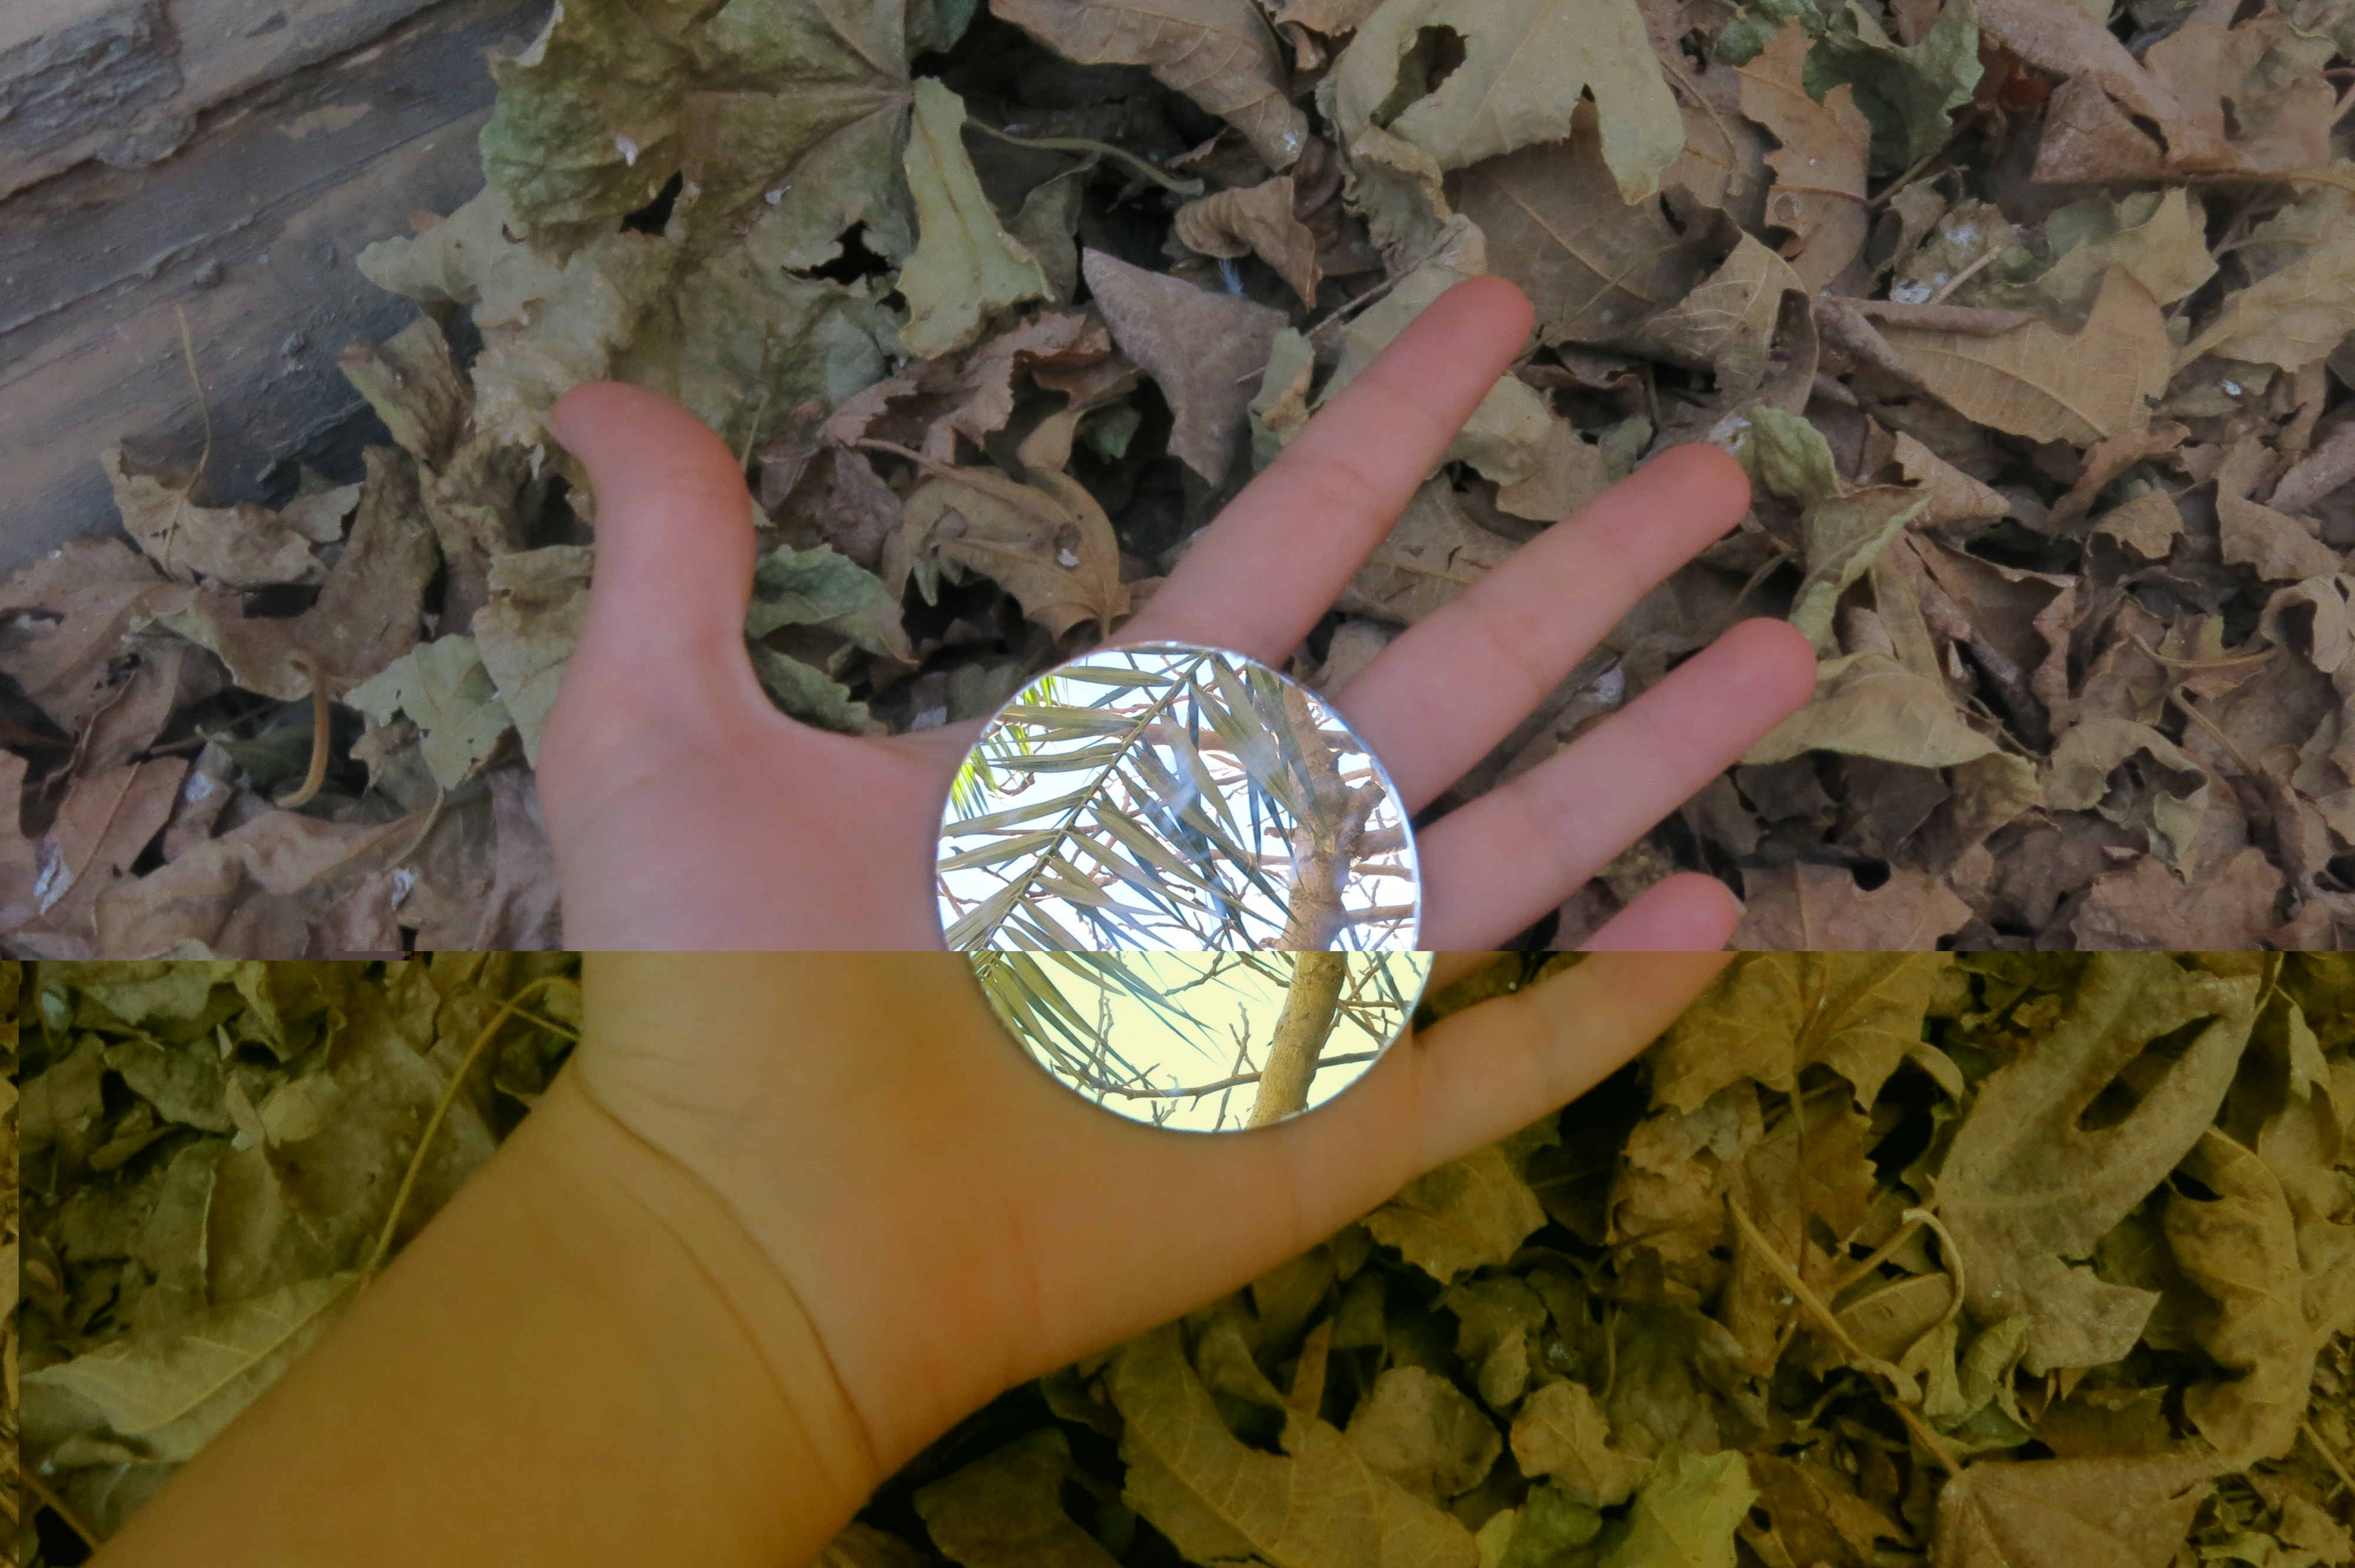
Damage due to bad sector – 512 damaged bytes
A close up of the area where the corruption is introduced:
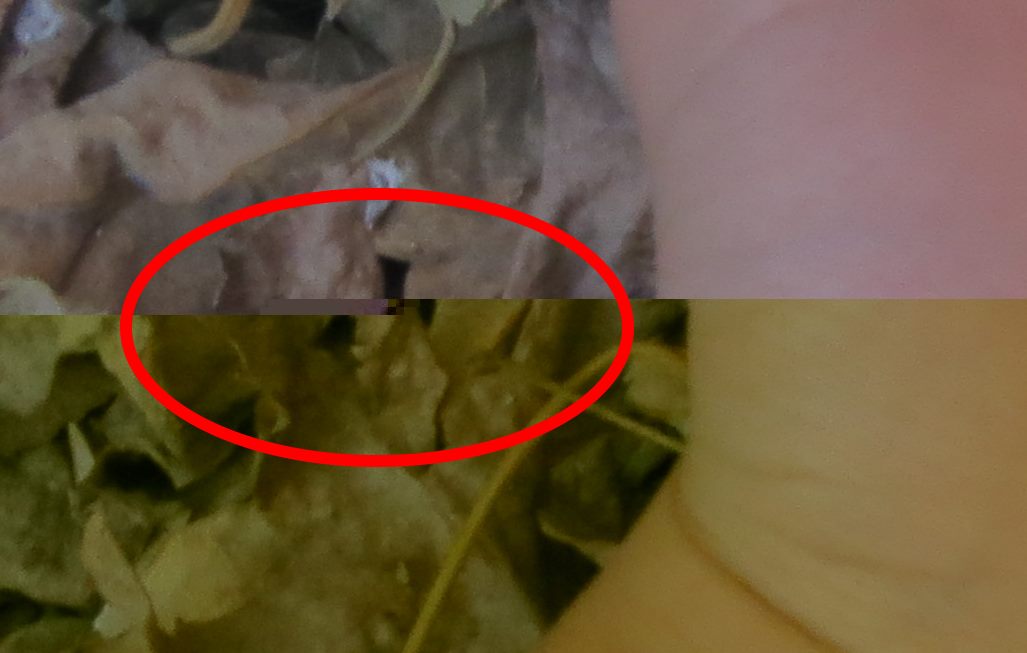
close up of image data corruption
The area in which the corruption is introduced is clearly visible. For completeness sake we run our ChkJPG tool to check for structural damage. Because of the fact that the image can be opened in viewers I expect no show stoppers.
Patching the image file (inserting/removing/modifying binary data)
There is a clear line visible where the image shifts ‘forwards’. To shift the image data backwards (don’t know how else to say that), data is deleted. This involves removing bytes.
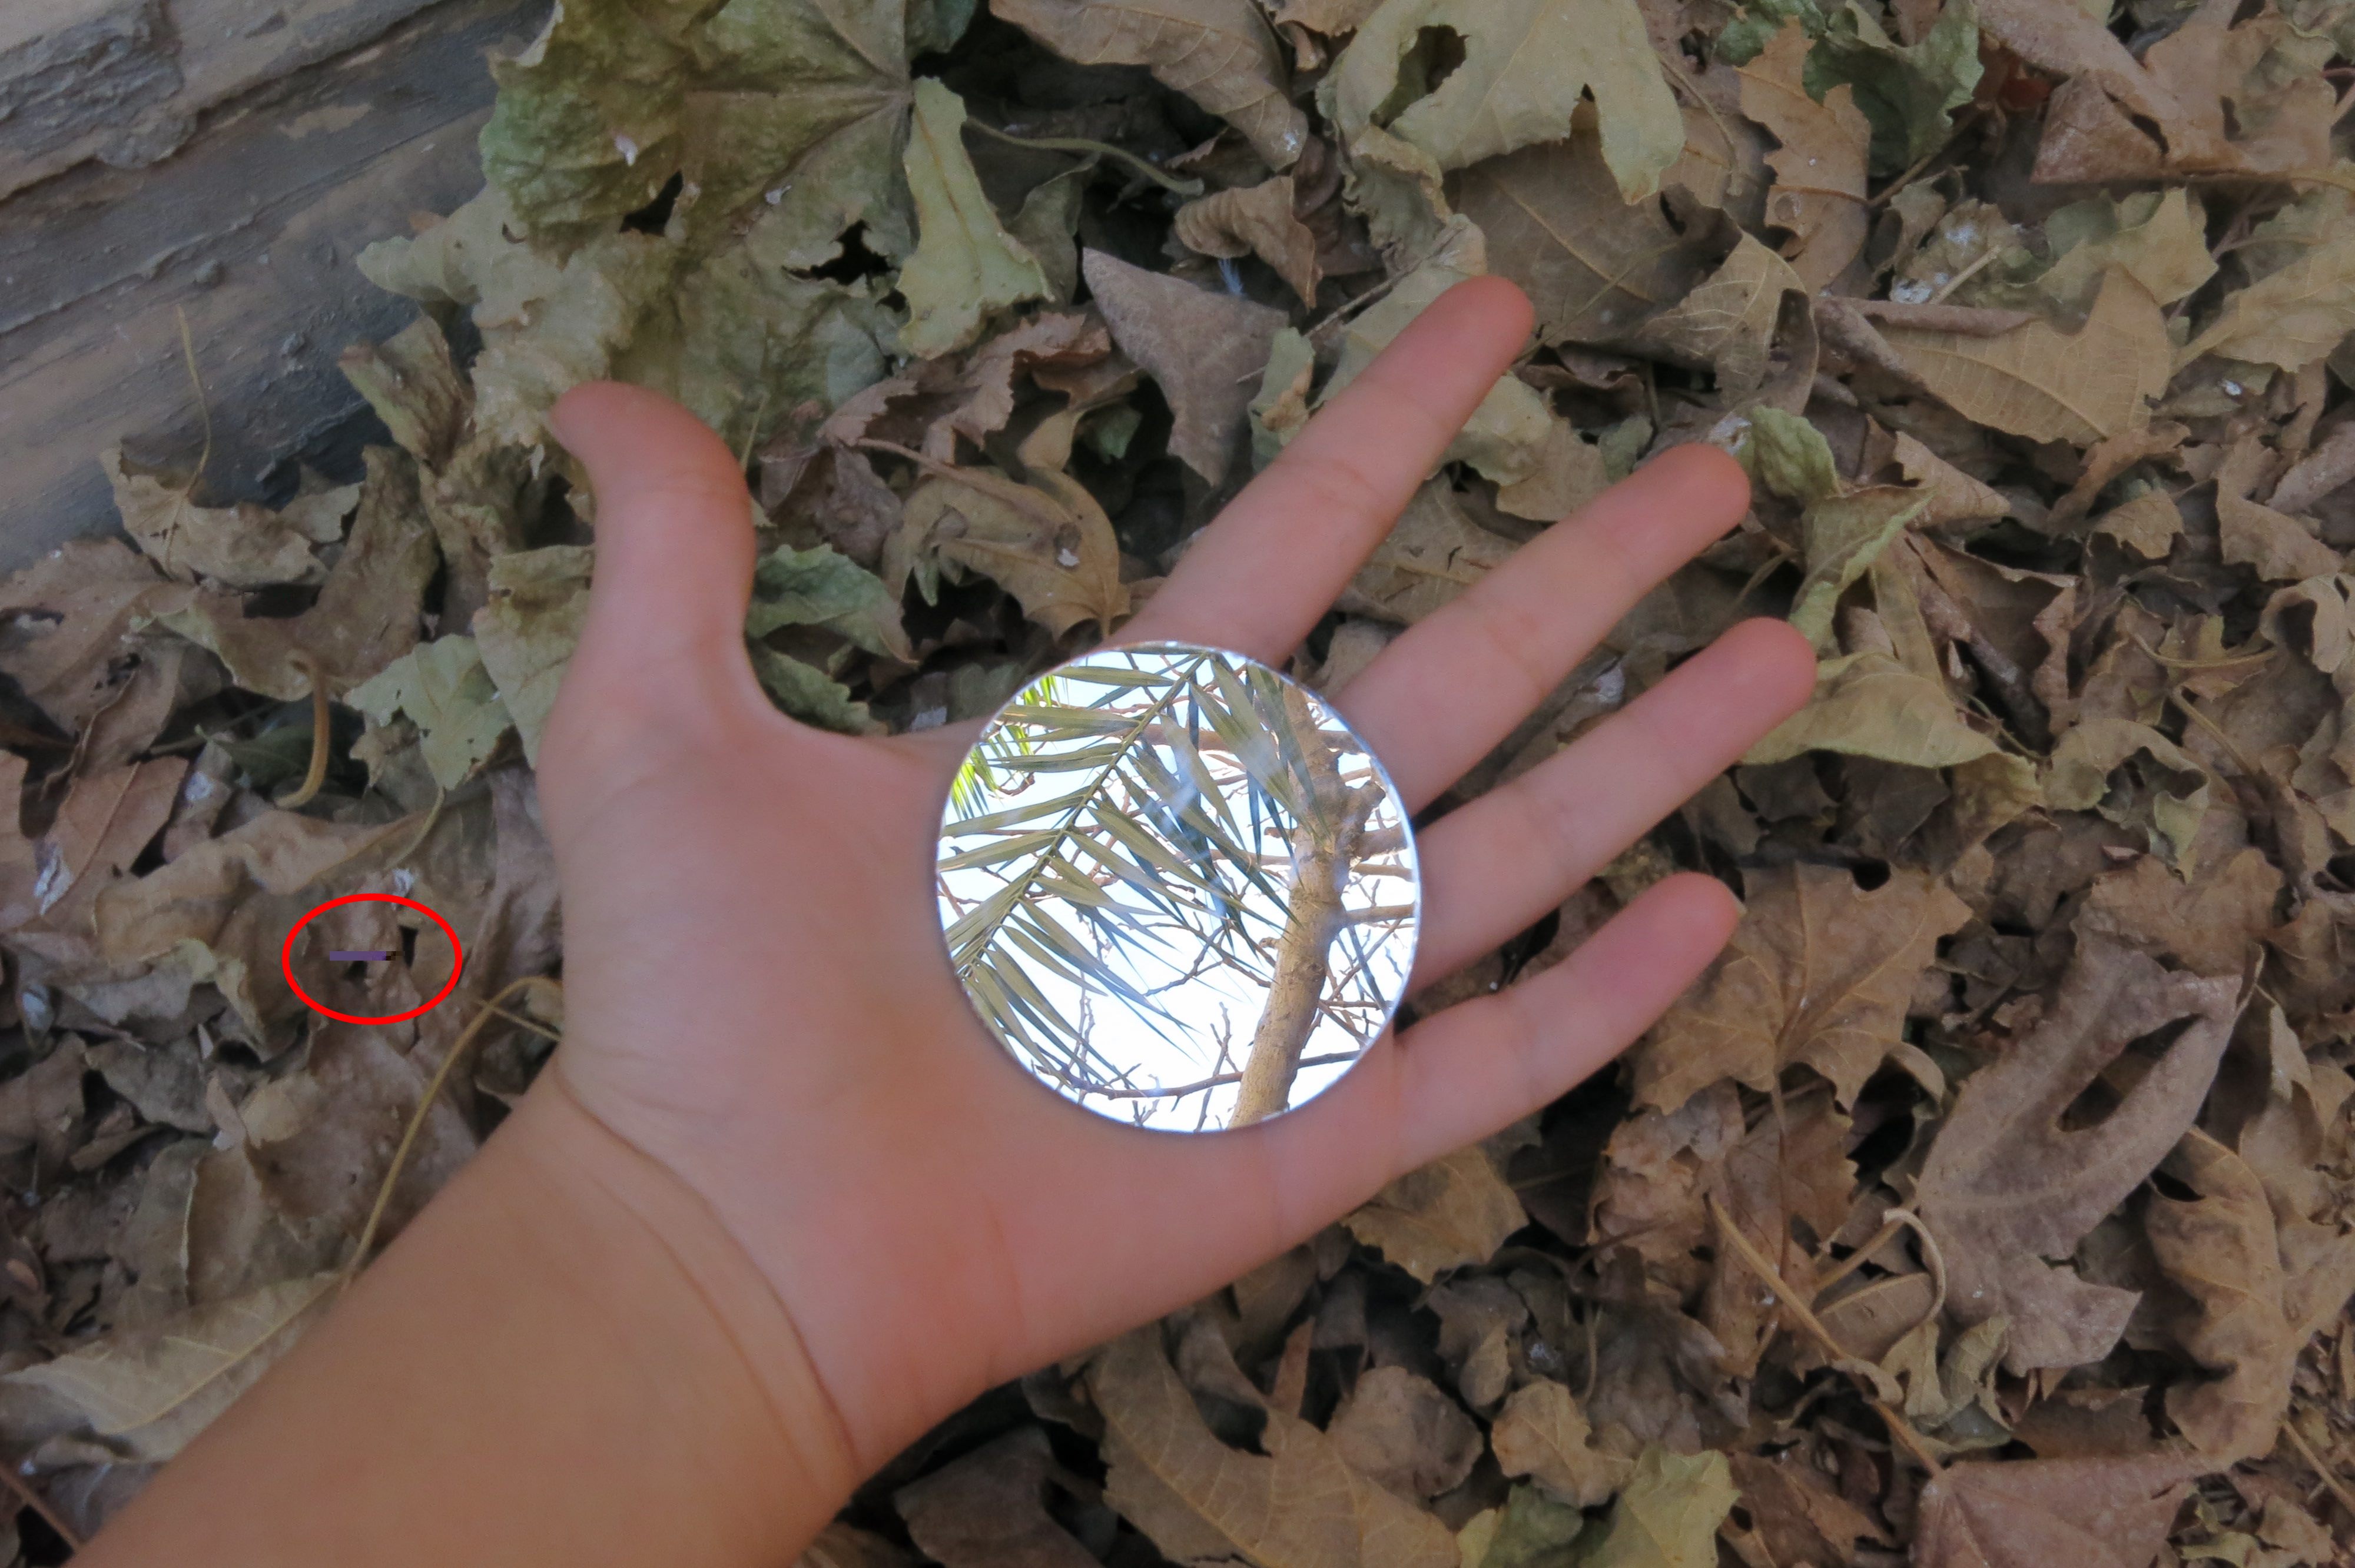
Almost fixed, but we introduced anomalies (marked – red circle)
Using Inpainting to repair introduced damage
Our Inpainter tool only requires us to mark the area we want to correct. Using information around the damaged area the tool calculates data to fill in the area.
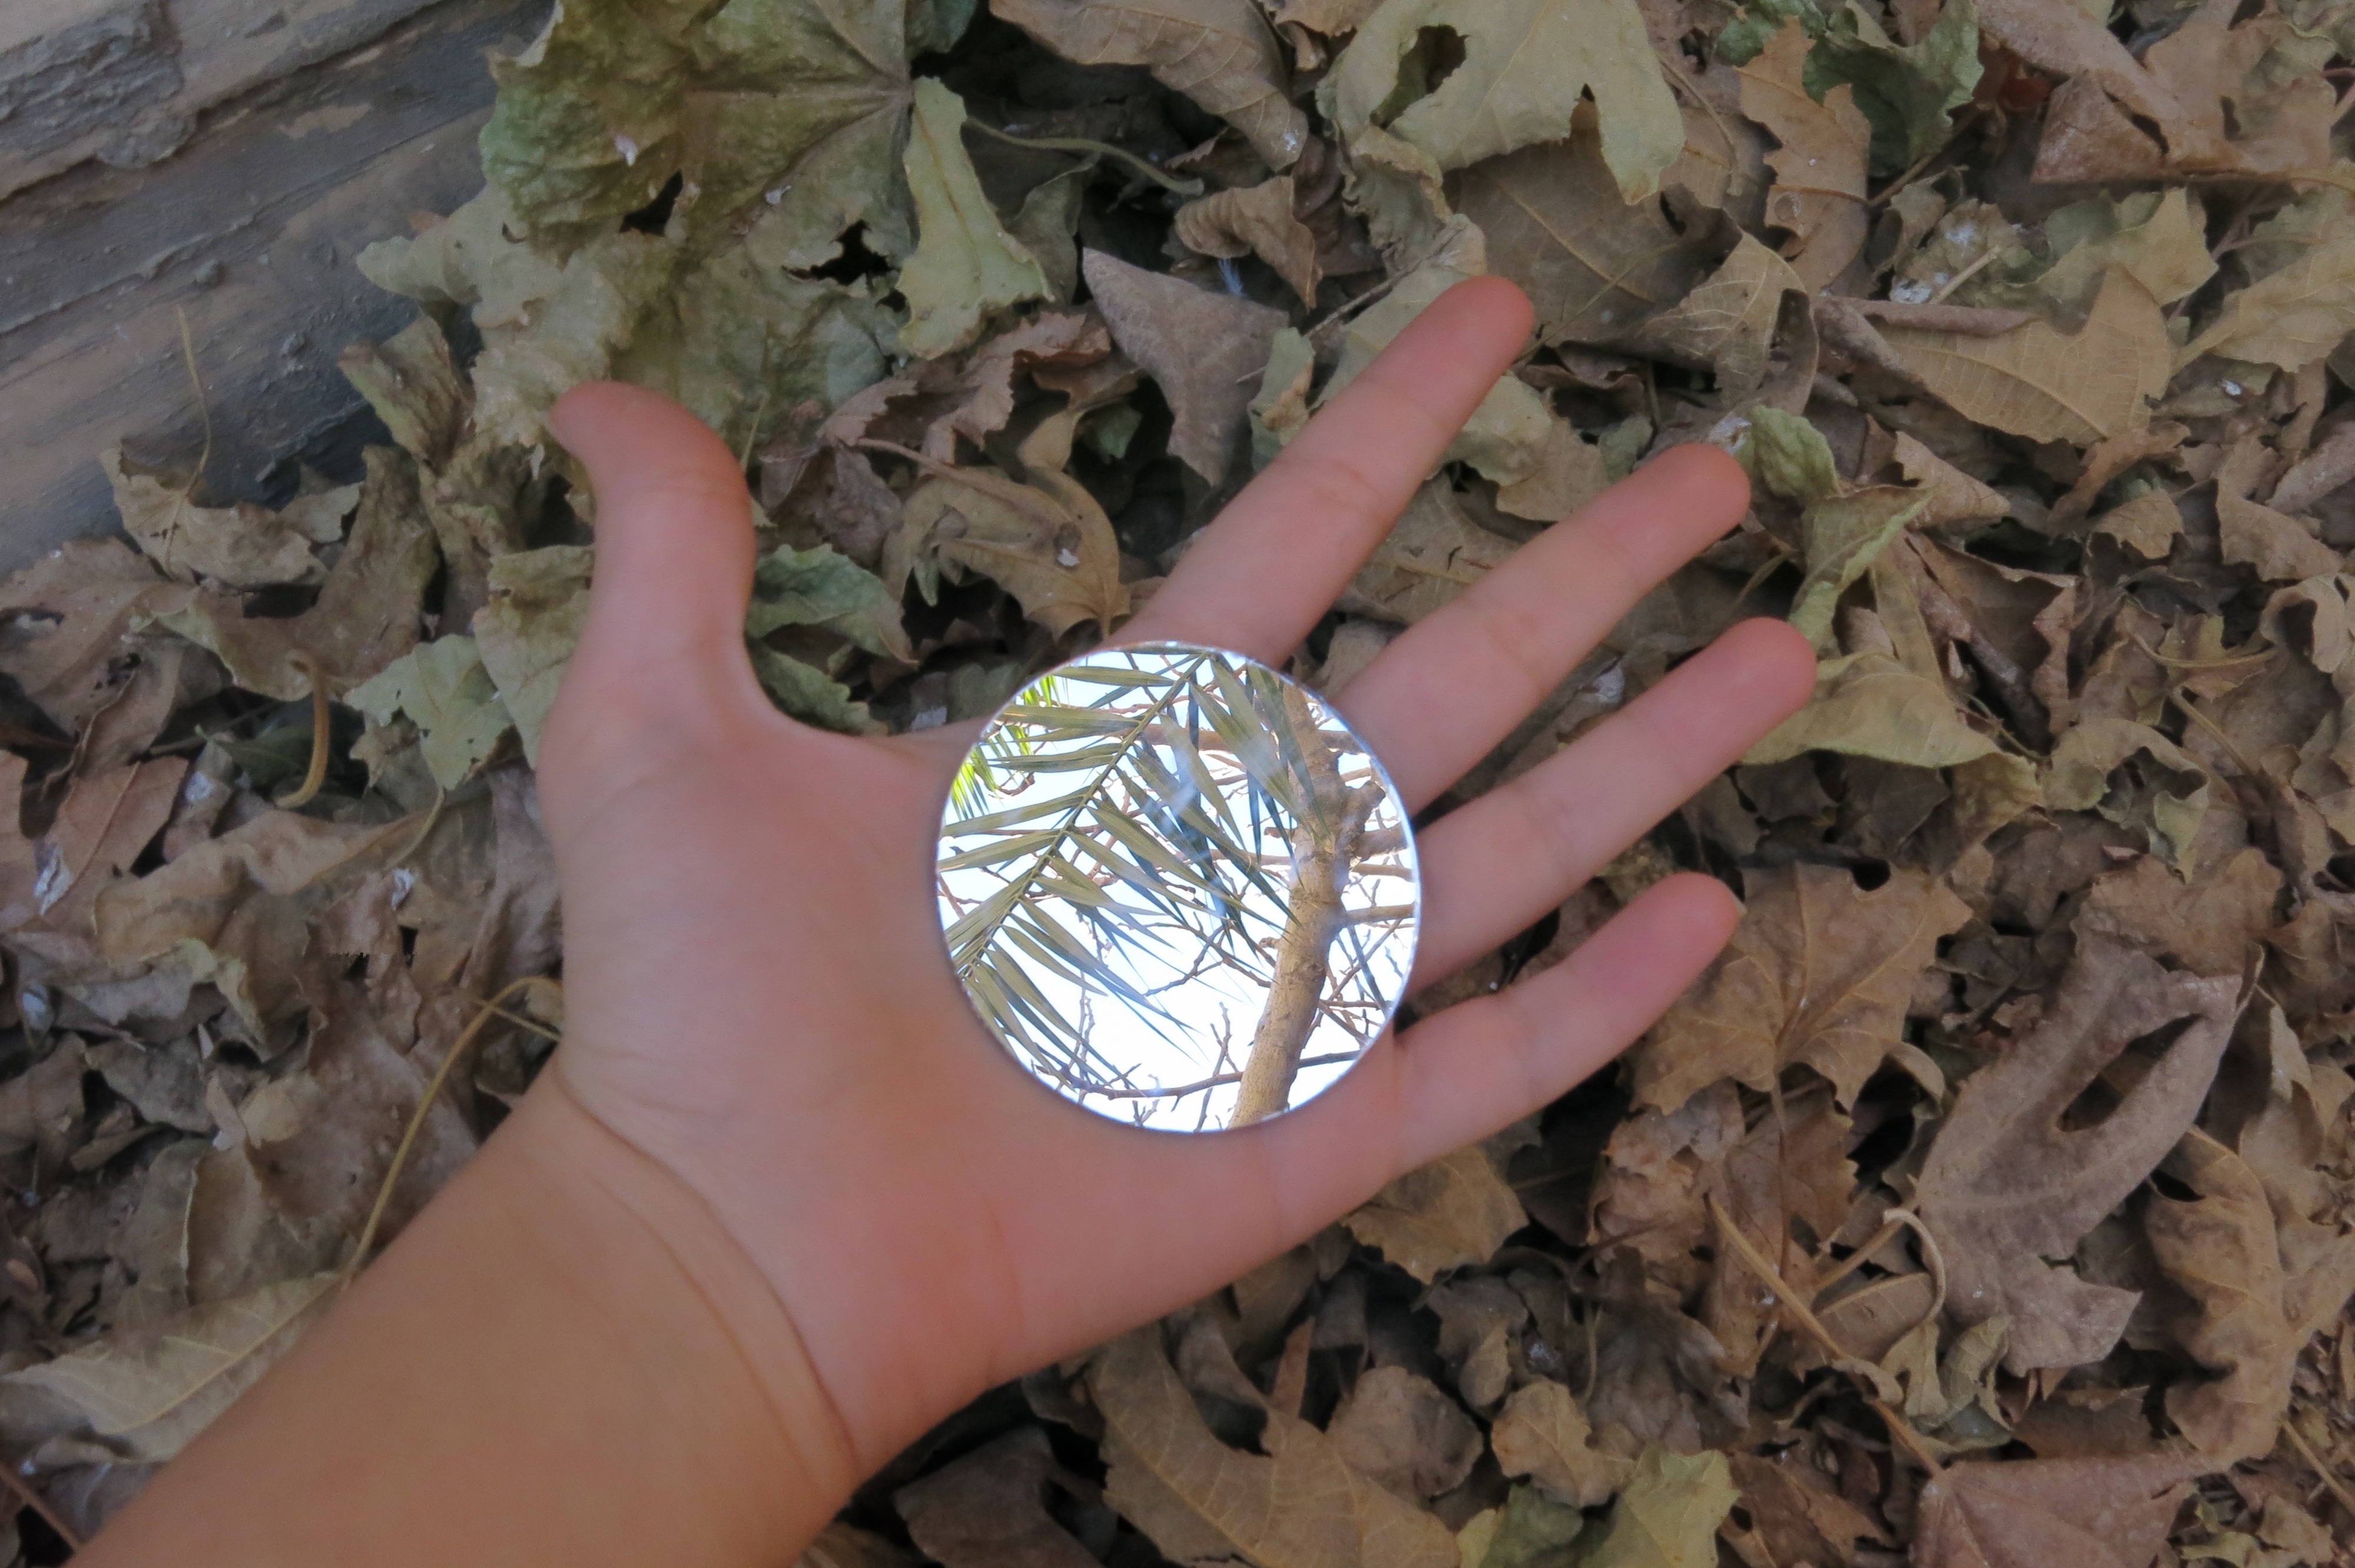
End result: The repaired JPEG file