

With Network Attached Storage or NAS for short becoming more popular, the demand for quality DIY solutions for NAS data recovery software increases.
| Common steps to recover data from a NAS |
Steps:
|
What is a NAS?
Basically a NAS is what we used to call a file server, no more and no less. But people need new terminology every now and then I guess. A few decades ago file servers were often Microsoft Windows NT or Novell Netware powered servers that made storage capacity available over a network. These were often expensive and beefy machines with SCSI disk interfaces and were maintained by full time and often certified system and network administrators.
A modern NAS box essentially does the same thing but is often found in homes. The majority of NAS devices is in fact a PC running a Linux based operating system with several hard drives attached. The entire OS is hidden from end users and functions can be configured through a web based interface. And, as NAS servers are often Linux based, file systems often used are EXT, XFS, and BTRFS.
Well known NAS vendors include QNAP, Buffalo, NETGEAR, LaCie, Seagate, and Synology.
RAID
As with the ‘old’ file servers, hard drives within a NAS are often configured as RAID set. It means disk work as a group and data stored on one disk is often meaningless without the data on the other disks. Most common RAID levels are RAID 0 and RAID 5. As a consequence, if one disks fails the data on the remaining disks is potentially in jeopardy as well. This being said, several RAID levels are able to compensate for loss of one disk due to the availability of ‘redundant’ data available on the remaining disks. This redundant data reduces the total capacity of all disks combined.
NAS Data Recovery software requirements
From the description of what a NAS is, we can already tell that to recover data, the software needs to know and understand:
- Linux RAID
- Linux file systems such as EXT (2/3/4), XFS, and BTRFS
This means many of the usual and popular goto solutions like Easeus and Recuva can not be used.
However, since Linux itself ‘speaks’ RAID and can work with those file systems, it can often be used to recover data from disks from inaccessible NAS devices. If you know your way around in Linux, I suggest you try this first.
In this article however I will address Windows based solutions that target a non-professional end user.
Preferably the PC non which the recovery will be performed runs a 64 bit version of Windows and the recovery software itself is 64 bit too. Typically a NAS contains hundreds of thousands of files. For each file, the software needs some memory to keep track of it, and 32 bit software will run at some point into memory problems.
NAS data recovery hardware needed
Below points are true regardless the software you will be using. For many, the hardware related matters will be most challenging.
- Of course you need the disks from the NAS. If the RAID level was RAID 5 you can still recover the data even if one disk is missing.
- You need a PC to which you can connect the disks. I recommend at least 8 GB RAM.
- You need disks you can copy recovered data to.
- You need the hardware to connect all those disks. Directly connecting disks to SATA ports is fastest. If that is not possible SATA to USB adapters and disk enclosures are an option, it will however slow down the recovery. It is possible to mix SATA and USB attached disks if it can’t be avoided.
And then there is this. A professional data recovery engineer will even need more disks as he will first clone the source disks (the disks that came out of your NAS). He will make sector by sector disk copies, and use those copies to recover the data from.
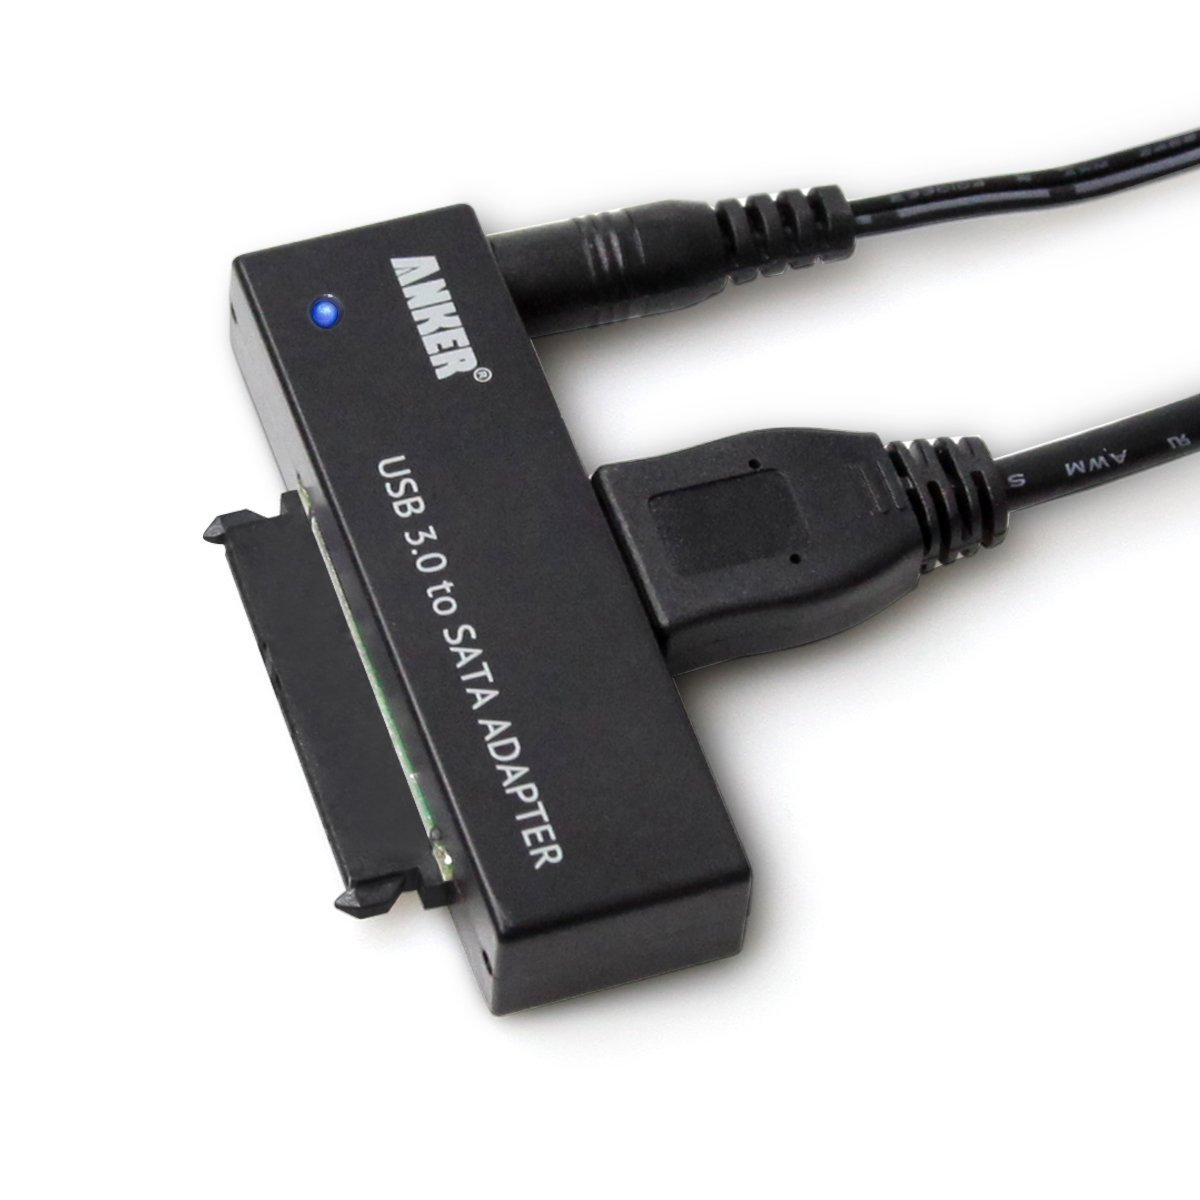
Not enough SATA ports? Use an adapter to connect to USB.
UFS Explorer RAID Recovery
Required license: RAID Recovery
UFS Explorer is actually the goto logical data recovery tool for many data recovery experts. It allows for greater control but this of course adds somewhat to complexity too.
Download
After launching the program, you will see the navigation tree on the left side of the tab where all detected storages will be shown together with partitions, disk images and complex storages (RAID). You can either choose the needed storage from this top-level structure or use the Open button on the upper panel.
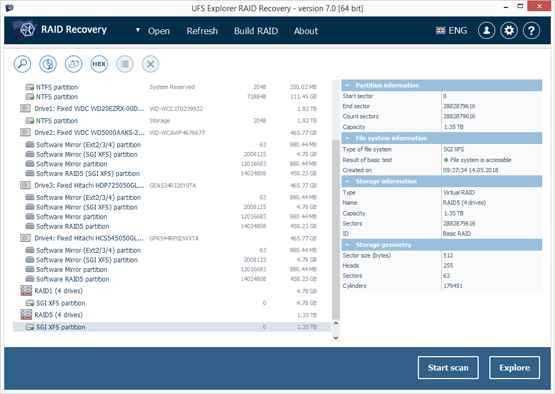
Click the Start scan button to proceed to data recovery.
The scan results include all found files and folders that can be recovered. You can now browse and save the needed recovered files just like in an original file system.
