

Repair corrupt JPEGs using reference/sample file
This type of repair will only work if damage is limited to the JPEG header. This repair can be done in batch. So of you have multiple corrupt JPEGs that were all shot using the same camera, you can repair them in one go all using the same reference file.
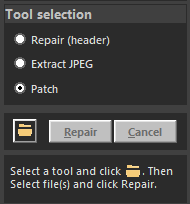
In this case you need Repair (header)
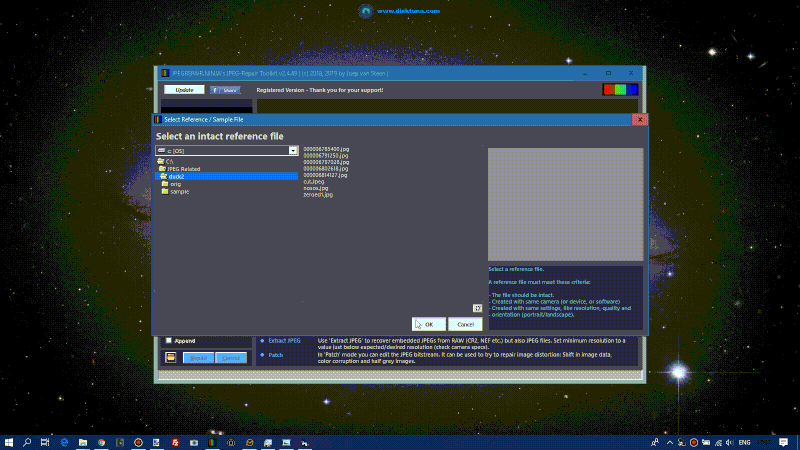
A reference file is an intact JPEG shot with the same camera using the same settings:
- Quality
- ISO
- Resolution
- Orientation
Steps to repair corrupted JPEG headers:
- Select a repair mode > Pick Repair (header).
- You can skip the parsing options, leave default.
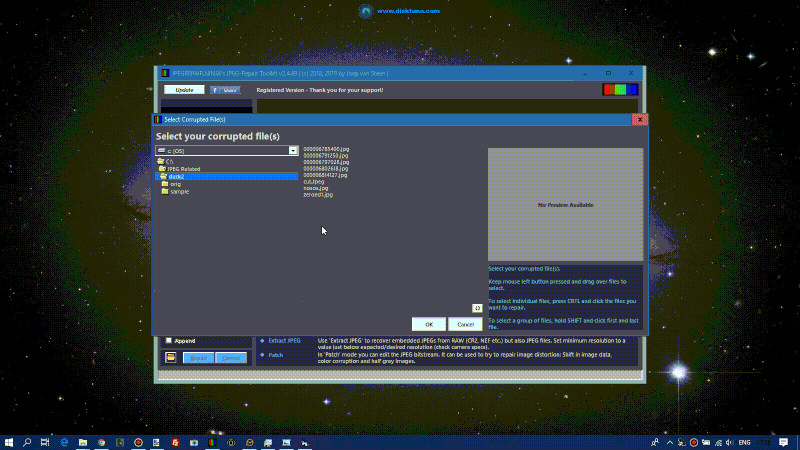
- Click folder icon > Select corrupt file(s).
- You’re prompted to select the reference file.
- Click Repair.JPEG repair will automatically save repaired files. It also shows previews in the main screen. If there were any errors JPEG-Repair shows an error log window.
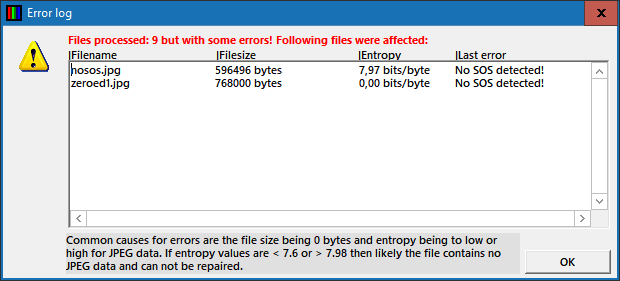
The error log can give some idea why repair failed and if files can be fixed at all.
- JPEG-Repair automatically saves files using the following format: OriginalName-1.JPG. For each file it is able to repair it will show a preview and certain details such as resolution (taken from reference file header).
- Donor header is stripped from non essential JPEG markers and data specific for donor JPEG.
- If repaired JPEG looks odd you may be using an incorrect reference file.
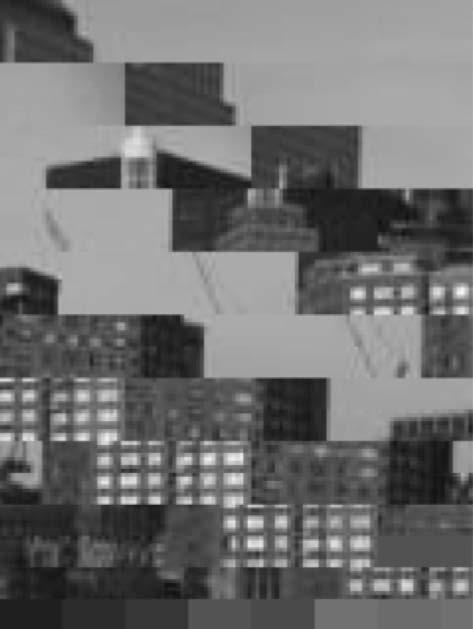 Wrong sample: “Donor’ resolution does not match patient. |
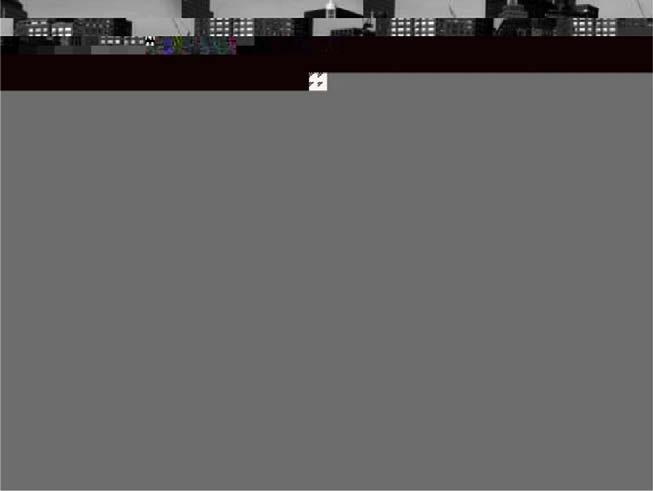 Wrong resolution donor + appears to contain fragments from different images. Possible due to trying to repair files after file recovery. |
Wrong resolution sample can be fixed if correct reference file is not available. Intermixed files need to be evaluated on a case by case basis.