

Using DiskPatch you can repair bad sectors very much like a utility like Spinrite but without the hocus-pocus-factor.
Hard disk diagnostics using SMART
DiskPatch (DIY DataRecovery.nl) includes a S.M.A.R.T. diagnostic utility. Since DiskPatch runs from a boot USB key it can even check disk health if the PC fails to boot.
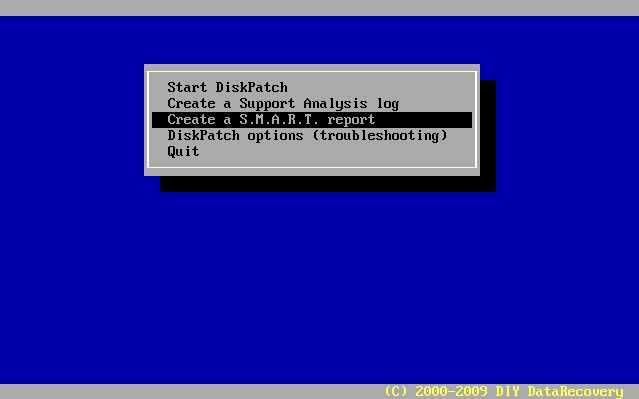
To create a DiskPatch USB boot key follow instructions in the DiskPatch user guide. Boot the PC using the USB key. From the start menu select Create S.M.A.R.T. report.
It may take a while for the utility to complete (disk detection), but it should look something like this:
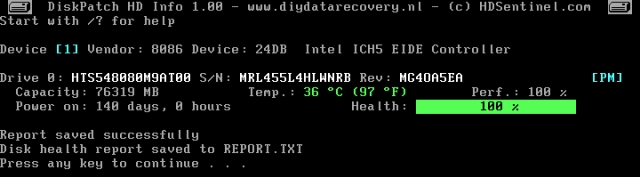
The health bar should give you a quick impression of the overall disk health. Open Report.txt for more details.
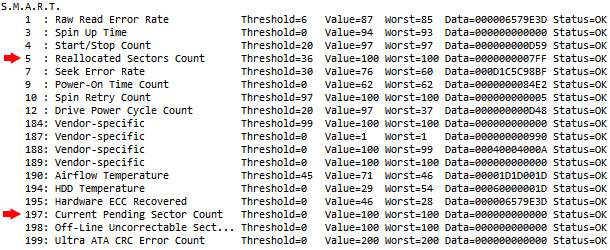
As this article deals with bad sector repair using DiskPatch, the two most relevant attributes are:
Reallocated Sector Count. – Ideally the RAW value for this attribute is zero. If not zero then the hard disk has already been reallocating sectors. If you use DiskPatch to repair bad sectors (reallocate sectors) then this value will increase. It records the actual number of reallocated sectors.
Current Pending Sector Count. – Represents the actual number the hard disk detected. This can be either during normal use of after a DiskPatch read-only scan detected bad sectors.
Some hard disks also report Sector Reallocation Events. This value can help you determine if bad sectors are spread out over the disk or if they are in clusters of bad spots. Assume Reallocated sectors reveals 12 bad sectors while reallocation events has a RAW value of 1. Then this would indicate all 12 bad sectors are next to each other. If we see a higher value for events then there 3 separate bad spots on the disk.
It is useful to observe these values before and after a DiskPatch surface scan. More info on the subject here.
DiskPatch surface scan and bad sector repair
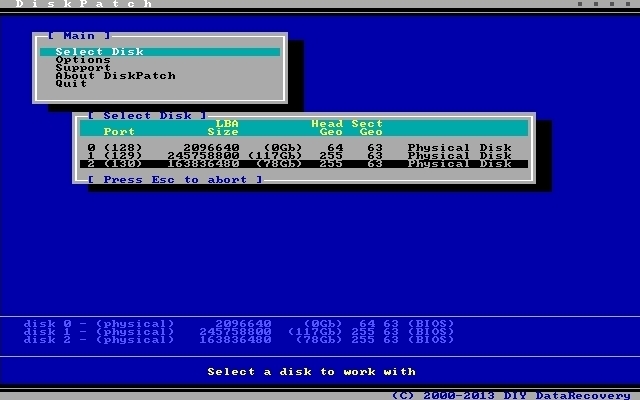
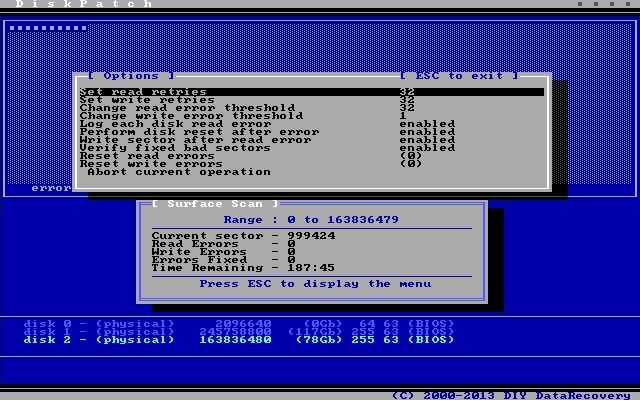
Select [Disk related tasks], [Surface Scan], then select a partition to scan or select a region of the disk manually.
To scan the entire disk, select ‘entire disk’ and leave the suggested default values (just press <enter>).

You can adjust settings that affect the surface scan, or abort the operation by selecting the ‘Abort’ option. Press <esc> again to exit the settings screen and continue with the new settings. The same window will also appear if the first read error is encountered. You can then decide if you want DiskPatch to repair the bad sector or to continue as a read-only scan.

When the scan has been completed the following screen will be displayed:
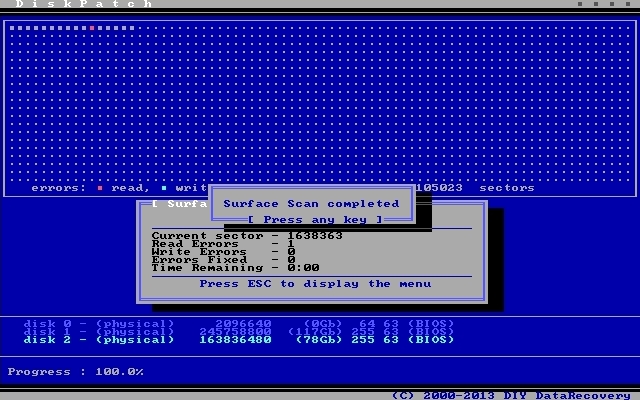
If DiskPatch encounters a bad sector during a read operation and the sector’s contents can not be read at all, DiskPatch replaces the sector data with a text string: DPBADSECTOR. If the contents of the (bad) sector are written to disk after the read error, the sector data will contain this string. This can help to locate files that were affected by the read errors: search through the files and use DPBADSECTOR as a search string.