

This case study shows the step-by-step process of the repair of a corrupt JPEG file using our in-house developed software, the JPEG Repair Toolkit.
About some of the corrupt JPEGs I receive I am really pessimistic. And this is one of those (see first image). But at the end of the day I fixed the image and improved my tools.
 |
 |
 |
 |
 |
 |
Repairing a corrupt JPEG file.
Partial image?
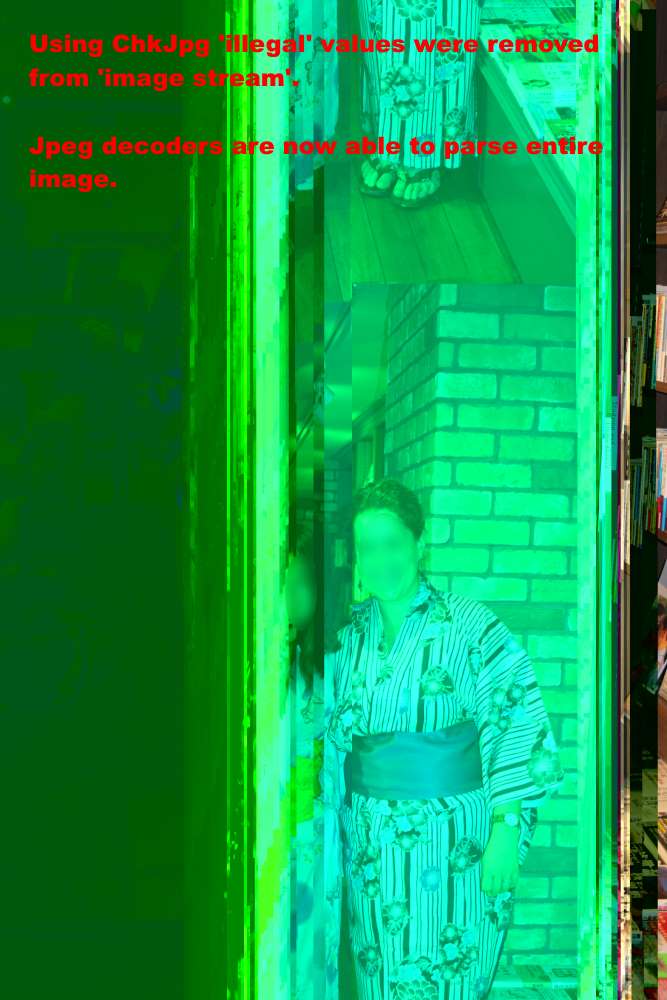
At first glance it appears to be a partial image (with only first few percent present). You see this sometimes if photo recovery software recovered a fragmented JPEG. Any image viewer or editor I throw at it only renders the first few percent of the image. My ChkJPG tool ends with an error message.
To parse a JPEG file you need to jump from one so called marker to the next. Once you reach the marker for the actual image data you keep going until you read an end marker.
After adding some code I can determine exactly where it chokes on the corrupt JPEG file. It encounters invalid markers in the image data itself. Using a hex editor I remove the markers after which ChkJPG keeps going until it finds the next invalid marker. As I work my way through the file, more and more data appears (See image 2).
By the time I reach the end of the file, image viewers show the 2nd image. They can now render the complete albeit corrupt image.
The positive side of this that I can adept my software to recognize this type of error in the future and even to ‘correct’ those invalid markers in the image stream.
Correcting Shift and colors
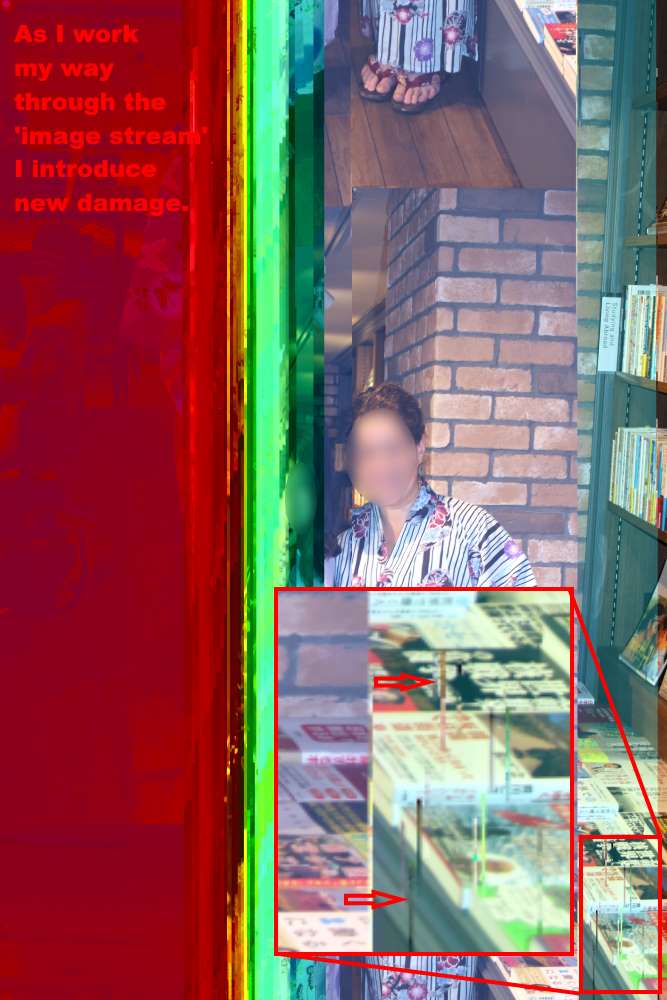
My image stream editor is a combination between a hex editor and an image viewer. It allows me to add, remove or alter the value of a byte and then view the effect on the image.
It has it’s own built in JPEG decoder which tells which bytes it is processing while drawing the picture. Thus allowing me to determine where I need to start playing with bytes to modify the image. I can see approximately at which byte address the image starts to shift or colors change.
The more corruption, the more tedious this hit and miss process becomes. But by working my way through the binary data the image becomes more and more presentable.
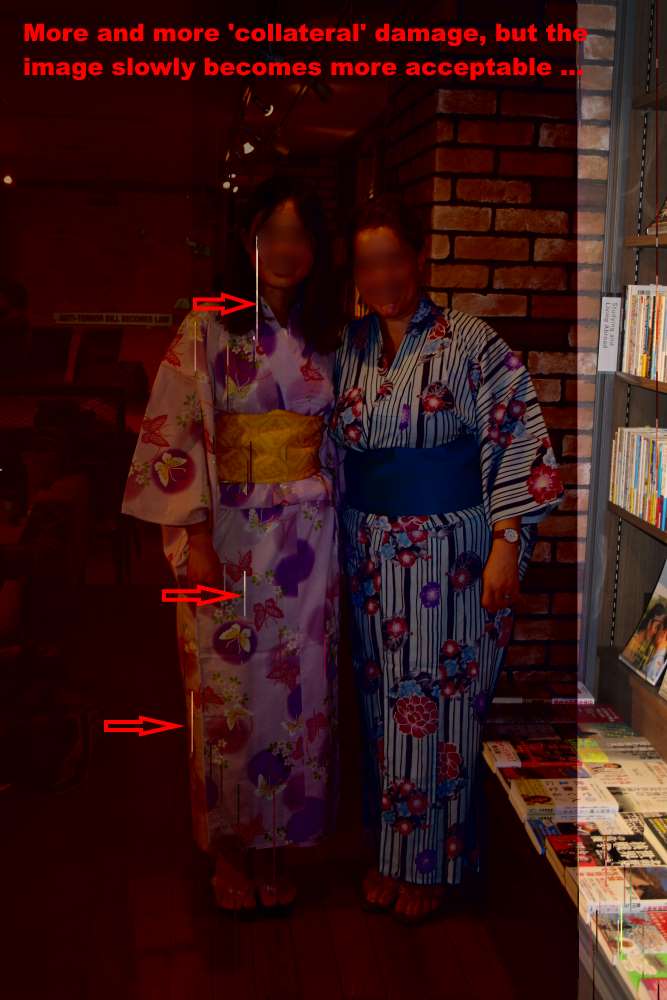
By removing (mostly) bytes and groups of bytes I introduce new damage (See vertical lines in image 3, 4 and 5).
Final touch
The image looks as good as new, apart from the vertical lines I mentioned earlier. As I am not a Photoshop artist I use an inpaint tool which is also part of the in-house developed Jpeg Repair Toolkit. It allows me to simply mark areas which it fills in by using information around the marked area (see image 6).